
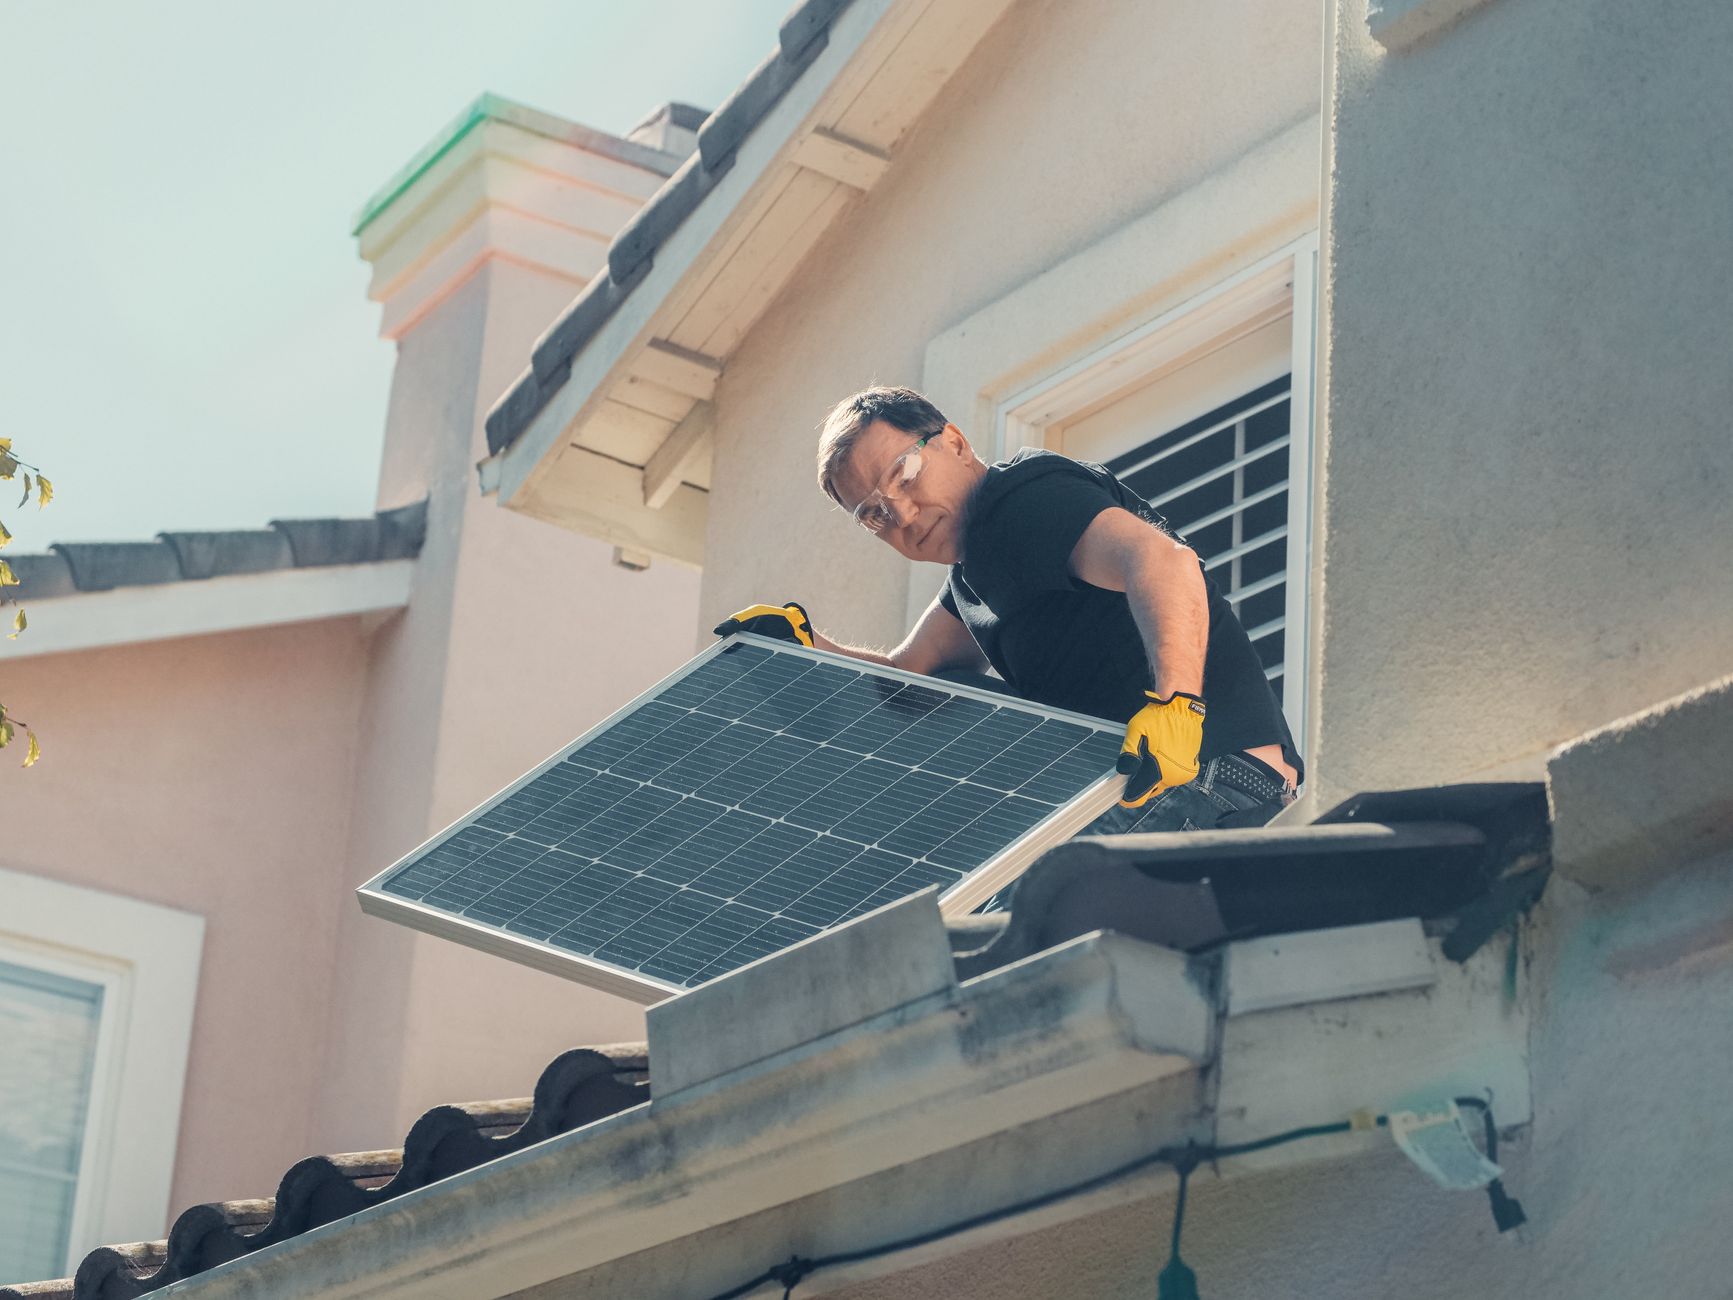
A solar installation involves more than placing panels on the roof. Your installer first checks whether the property suits solar, then designs a system around your roof, electricity use, and equipment choices. On installation day, the team fits the panels and electrical components, followed by any required checks and a handover. Knowing what each stage involves helps you prepare, ask useful questions, and understand what needs to happen before your system can operate.
Start With a Property Assessment
The process usually begins with a discussion about your electricity use, plans for the property, and priorities such as adding a battery now or later. Your installer may review recent electricity bills to understand when and how much power you use. This information helps shape a system that suits your household rather than relying on roof size alone.
A site assessment checks the roof’s condition, orientation, available space, and potential shading from trees or nearby buildings. The installer also considers where the inverter can go and how cables can connect to your switchboard. Ask whether the assessment is in person or remote, what access is needed, and whether any roof or electrical work may be required before installation.
Review the System Plan
After the assessment, you should receive a proposal explaining the recommended system. It typically identifies the panel and inverter models, proposed panel locations, expected system capacity, and the work included. If a battery is part of the plan, check its location and how it will connect to the system. Make sure the design reflects your roof and household needs.
Before approving the plan, clarify the total scope, assumptions, and any exclusions. Ask who handles applicable approvals and whether the quoted work includes switchboard changes, monitoring setup, or repairs identified during the assessment. Confirm the expected timeline and what could affect it, such as equipment availability, weather, or approval requirements. Get changes to the design or scope documented before work begins.
Prepare for Installation Day
Your installer should confirm the scheduled date, arrival window, access requirements, and any preparation needed at home. Clear the area around the switchboard and planned equipment location, and arrange access to the property if you will not be there. Ask whether power will need to be switched off and for how long. Keep children and pets away from the work area while the crew is on site.
On the day, the team generally installs roof mounting hardware, secures the panels, and connects the system to the inverter and electrical supply. The exact sequence depends on the roof and system design. Installers may need to work both on the roof and inside or around the home. If conditions change or the crew finds an unexpected issue, ask for an explanation and an update on timing before additional work proceeds.
Complete Checks and Handover
Once installation is complete, the installer should test the system and explain any inspections, approvals, or utility steps that remain. Ask when the system is safe to operate and when you can expect it to start exporting power, if applicable. Requirements and timing can vary, so request a clear explanation of what the installer will arrange and what, if anything, you need to do.
Before the crew leaves, ask for a walkthrough of the monitoring app or display, basic system operation, and whom to contact if you notice an alert. Collect the final system documents, equipment details, warranty information, and instructions for reporting a problem. Check that you understand the handover and keep these records somewhere easy to find.
A well-managed solar installation follows a clear path: assess the property, agree on a suitable design, prepare for the work, and complete testing and handover. Before signing off, make sure you know what was installed, how to monitor it, and which approvals or next steps are still pending. Contact Melbourne Solar Co to discuss a site assessment and system plan for your property.